How to Securely Ship Printed Artwork
PROTECT YOUR BUTTERFLY
Imagine your artwork as a delicate butterfly, its wings composed of your creativity and passion. Now picture sending that butterfly on a cross-country journey through turbulent skies and rough terrain. Sounds risky, doesn't it? That's essentially what you're doing when shipping your art. But with the right techniques, you can create a protective cocoon that ensures your art arrives at its destination just as beautiful as when it left your studio.
To give you the best advice on shipping printed artwork, we consulted our friend Joely Rogers. As the co-owner of the fine art frame manufacturer and retailer Frame Destination, Joely is also a nature artist, illustrator, and writer who has extensive knowledge of fine art display, protection, and shipping.
“Shipping artwork, just like framing it, is a whole other ballgame beyond creating the art,” Joely says.
PREPARING FOR SHIPMENT
- Create a shipping account: Consider setting up a business account with a reliable shipping company. This allows you to track shipments and potentially receive discounts if you meet a certain shipping volume.
- Understand dimensional weight: Shipping costs are often based on dimensional weight, which considers the package's size rather than its actual weight. “This means a large, framed artwork that might only weigh a few pounds can cost a lot,” Joely explains. “They are charging you for how much space your artwork takes up in their truck or airplane.” One of the best ways to control your dimensional weight is by packing your artwork in a box that’s closest to the size of your artwork while still providing adequate protection.
PACKING IT UP
These steps assume you are working with framed art or stretched canvas. We’ll talk about loose art prints later in this article.
- Wrap the artwork in acid-free archival paper first to protect it from being penetrated by materials that could potentially damage or leave an imprint on the piece.
- Tightly wrap your art in cling film — stickier than plastic wrap — to secure the piece, starting from the back for a neat appearance.
- Apply corner protectors and edge guards to safeguard the frame or canvas. “Corners are typically what gets damaged during transit,” says Joely. “Corner protectors act as a cushion for all the bumps and dings that happen on your item’s journey.”
- Purchase or cut insulating foam that’s slightly larger than the piece itself. Then construct an “art sandwich” using packing tape to bind the two slices of foam together, with your art tucked safely in the center.
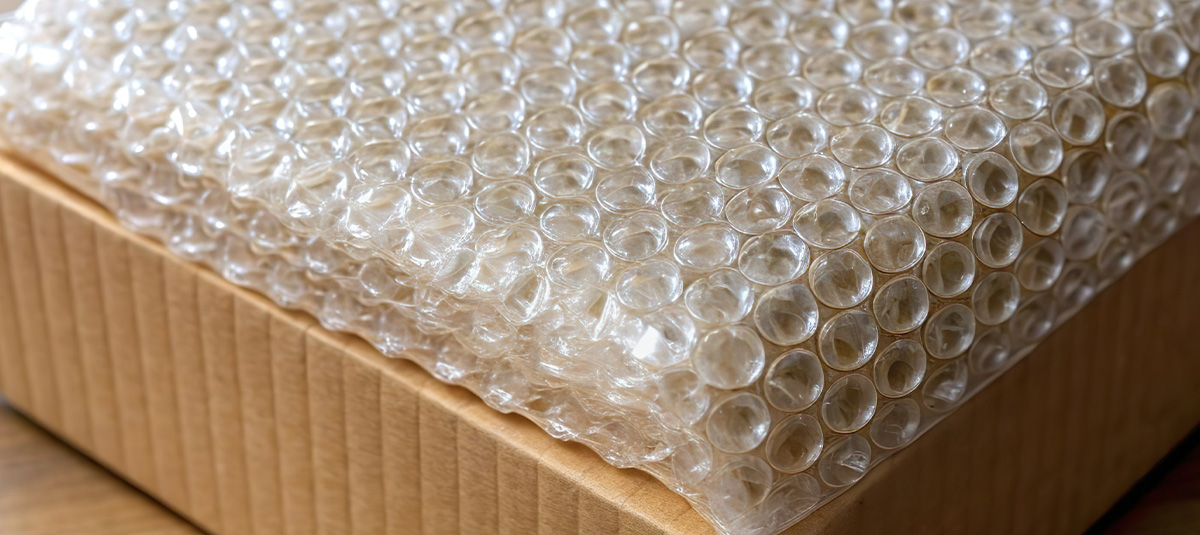
- Finish with a layer of bubble wrap (convex side facing the artwork).
CHOOSING THE RIGHT BOX
- Select a sturdy box slightly larger than your wrapped artwork. FedEx isn’t the only source. Uline is a strong option, offering a wide variety of boxes, including boxes suitable for art. Joely also suggests U-Haul’s mirror and picture moving box. “It’s a rather large box but it’s possible to cut it down to fit your artwork,” she says.
- Line the box with additional insulating foam or air cushions for extra protection.
- For frequent shippers, consider investing in high-quality art shipping boxes. MasterPak’s TitanStrongBox offers three layers of foam protection in a strong, humidity-resistant corrugated container.
FINAL STEPS
- Center the wrapped artwork in the box, ensuring at least 1 to 2 inches of space on all sides.
- Fill that space with packing material like air cushions to prevent movement during transit.
- Seal the box securely with high-quality packing tape. It will help the package stay together during the shipping process, which usually involves a lot of manhandling and tossing into trucks.
- Apply "Fragile" labels to alert handlers to the delicate contents.
ADDITIONAL TIPS
- When framing artwork that may be shipped, consider using acrylic glazing instead of glass for added safety.
- Save packing materials from frames you purchase for future use.
PACKING UNFRAMED ART OR PHOTOS
Flat Package:
- Unless your art is too big to be packed flat, you should always use a flat package. Cut a piece of backing board or cardboard the same size of your print or a bit larger.
- Place the board into a clear display bag for photos or art prints or plastic sleeve, followed by your art. We suggest using gloves when handling the artwork or photo.
- Seal the sleeve and place in a rigid photo mailer. These can be purchased at USPS or generally any office supply retailer.
- If not already printed on the mailer, place “Do Not Bend” stickers on the envelope for good measure.
Mailing Tube:
- If your art is too large to make flat packaging affordable, that’s where tubes come in. Roll your print with acid-free archival or glassine paper, which helps protect your art against tears and scratches. Secure the print within the paper using masking tape.
- Slide your wrapped art into the tube.
- If the artwork does not reach the end of the tube, fill the excess void at the end of the tube with a bit of extra crumbled up paper. When you close and shake the tube, you should not hear any movement. You don’t want the edges of your artwork to be knocked around and damaged inside the tube.
- Seal the tube with additional packing tape to make sure it is secure.
RELEASE THE BUTTERFLY
Shipping artwork safely is an essential skill for any artist looking to expand their reach beyond local markets. By mastering the art of shipping your creations, you're not just ensuring their physical safety, you're also demonstrating your commitment to professionalism and care for your craft at every stage of the artistic journey.
Whether you're sending a piece to a buyer, gallery, or exhibition, now you’re equipped with the knowledge to transform your artwork from a fragile creature into a well-protected traveler, ready to spread its wings and captivate a new audience.
For further details, see Best Practices for Shipping Your Artwork and How to Pack and Ship Framed Artwork.
Original Publication Date: September 12, 2024
Article Last updated: September 12, 2024
Related Posts and Information
Categories
About Photographers
Announcements
Back to Basics
Books and Videos
Cards and Calendars
Commentary
Contests
Displaying Images
Editing for Print
Events
Favorite Photo Locations
Featured Software
Free Stuff
Handy Hardware
How-To-Do-It
Imaging
Inks and Papers
Marketing Images
Monitors
Odds and Ends
Photo Gear and Services
Photo History
Photography
Printer Reviews
Printing
Printing Project Ideas
Red River Paper
Red River Paper Pro
RRP Products
Scanners and Scanning
Success on Paper
Techniques
Techniques
Tips and Tricks
Webinars
Words from the Web
Workshops and Exhibits
all
Archives
December, 2024
November, 2024
October, 2024
September, 2024
August, 2024
July, 2024
June, 2024
May, 2024
April, 2024
more archive dates
archive article list


Red River Paper Inc. All contents © 1997 - 2025. 8330 Directors Row. Dallas Texas, 75247. Prices, specifications, and images are subject to change without notice. Not responsible for typographical or illustrative errors. Website Terms & Conditions | Acceptable Use
Site Development & Maintenance: Phosphor Media, LLC