Begin in the Print module

Click on the Page Setup button on the lower left of your screen.
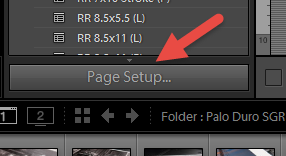
The Page Setup button will launch the Print Setup dialog.
1. Choose your printer from the Name drop down menu.
2. Click the Properties button
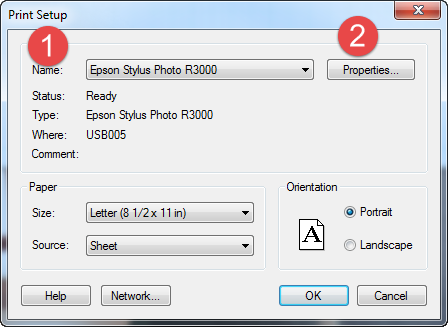
Your printer's property or preferences menu will appear.
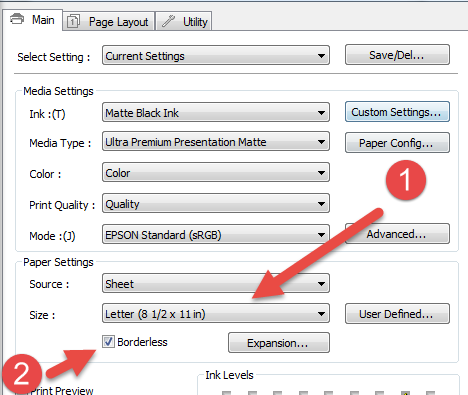
Epson
1. Choose your paper's size from the Size drop down menu
2. Click the Borderless box to activate borderless printing.
Please note that not all sizes are borderless compatible. The selection is set at the factory.
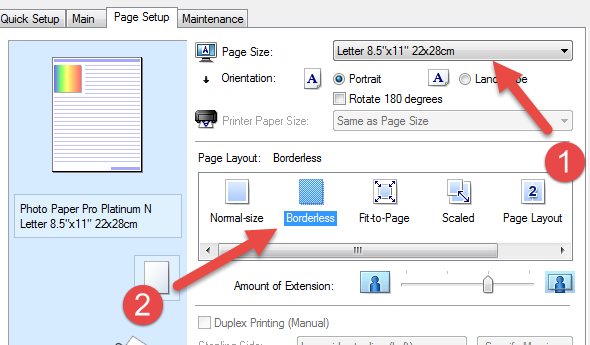
Canon
1. Choose your paper's size from the Page Size drop down menu
2. Click the Borderless option in the Page Layout menu.
Please note that not all sizes are borderless compatible. The selection is set at the factory.
Set your media type, print quality, and other printer settings then click OK to return to Lightroom.
Back in the Print module, locate the Layout menu. Set the following:
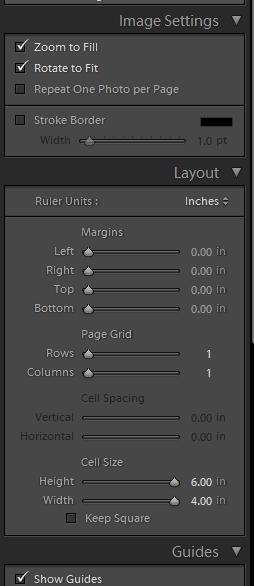
Margins - 0.00 on left, right, top, bottom.
Page Grid - 1 row, 1 column.
Cell Size - Set the sliders all the way to the right. You are making the cell size as large as it can be, which is the size of your paper.
Note: You may need to click "Zoom to Fill" if you see a small white border on one or more sides. This means your image size is not the exact proportion to fill the borderless space.
With the Layout set properly, your preview should look correct. If you still see large white borders around the image preview, go through this tutorial again from the beginning.
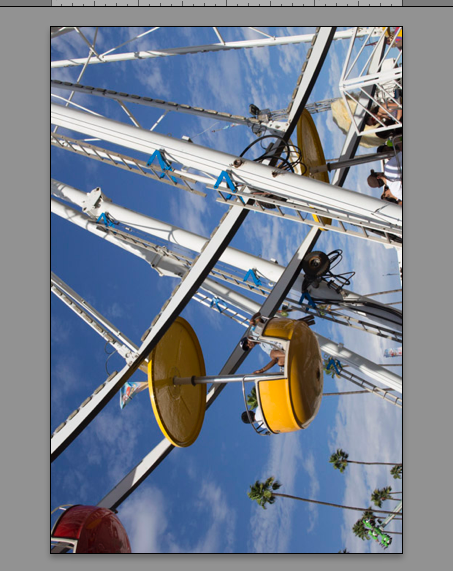
You can now complete the print process as normal.
Last updated: December 07, 2020


