These instructions were produced using Microsoft Publisher 2000. Older and newer versions of the program will have similar layout procedures.
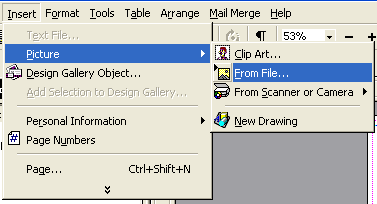
Now you will select an image to go on the outside front of the card. From the Insert menu, choose Picture » From File... Search the hard drive for the image you want to use. Image Tips: Try and have the image prepped in Photoshop or other editing program before this step. This includes cropping any other changes to the photo. |
 |
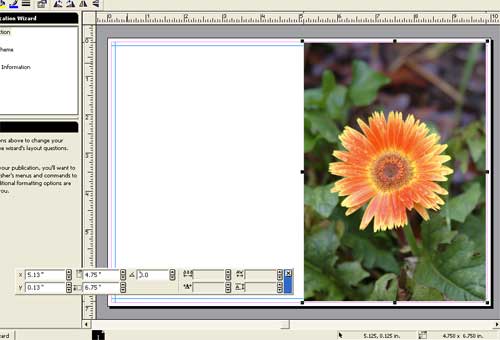
After you select an image and click OK, it will appear on the canvas as a movable layer. The menu with numbers at right is the Measurements toolbar. The second column of numbers is the width and height of you image. Use this table to determine the largest size you can make your image:
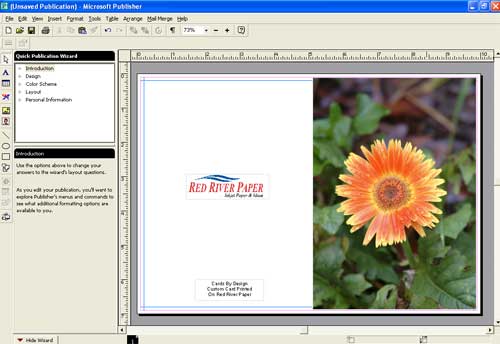
Now, move your photo to the proper location on your canvas. See the photo at right. Make sure the left border of the image is to the right of the mid point where the card will fold. As long as you have sized the image within the limits mentioned above, there should be no cropping when the card is printed. |
 |
At this point, you can add text or more graphics to complete the card layout. |
 |
Related Posts and Information
Last updated: February 03, 2020


