PRINTING
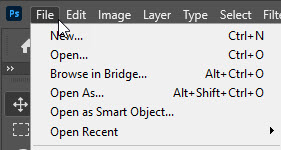
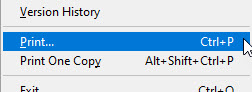
In Photoshop, go to File > Print
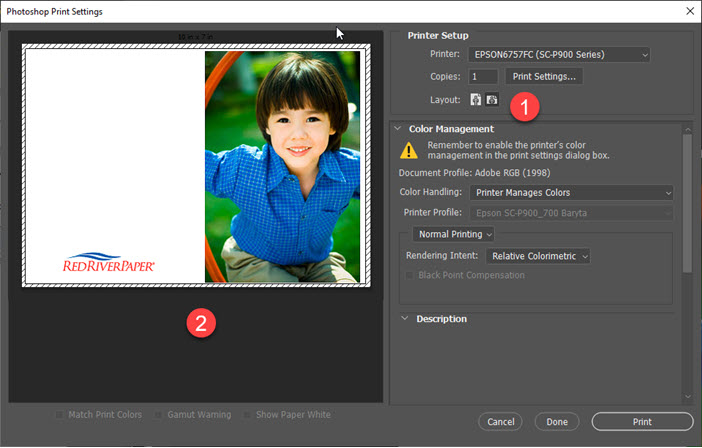
The Photoshop print dialog/preview appears.
Notice how the preview looks wrong. This is because we have yet to define the greeting card paper size.
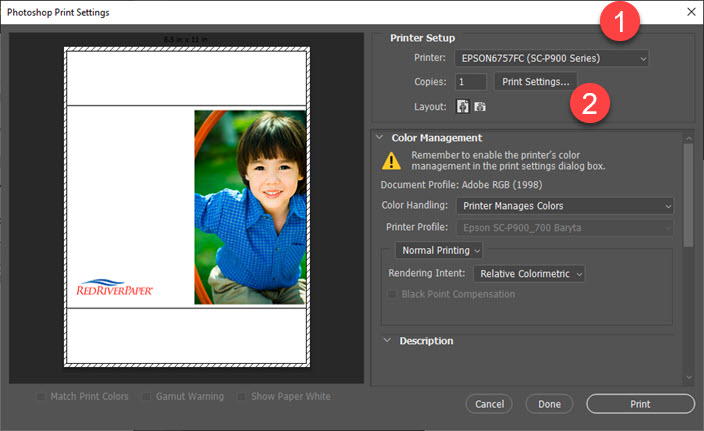
1 - Select your printer in the Printer drop down menu
2 - Click Print Settings to launch the Printer Property dialog.
Scroll to the bottom of the page for help with alternative driver versions.
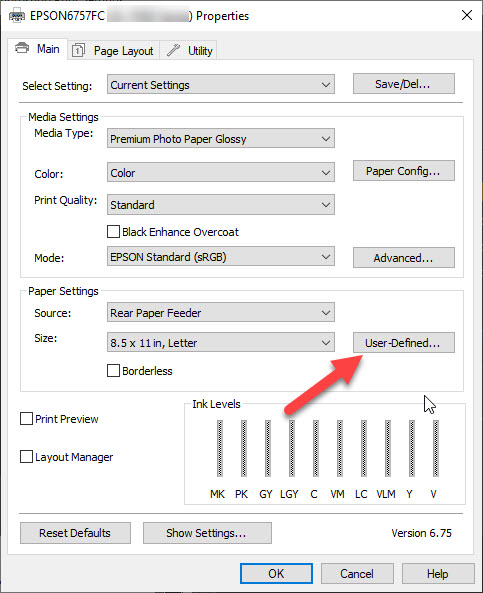
The printer property dialog appears. Locate and click on User-Defined in the Paper Settings area.
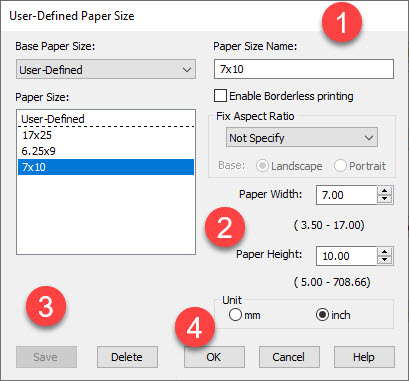
The User-Defined Paper Size dialog appears.
1 - Name the new size
2 - Set the paper width and height using the table below.
The width is always the smaller dimension of the paper.
The height is always the longer dimension of the paper.
Regardless of card orientation.
| Card Size | Width | Height |
|---|---|---|
| 7x10 | 7 | 10 |
| 6.25x9 | 6.25 | 9 |
| 5.5x8.5 | 5.5 | 8.5 |
| 8x9 Pano | 8.0 | 9.0 |
| 5.25x5.25 Square | 5.25 | 10.5 |
3. Click the Save button.
4. Click OK - You are returned to the Printer Properties dialog.
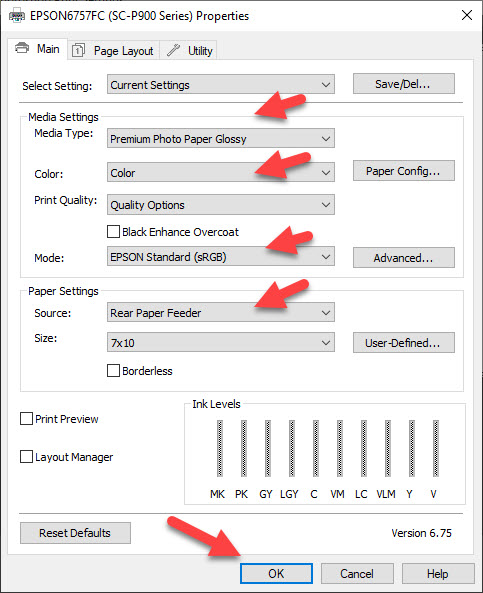
Verify your printer settings - media type, color management, print quality, paper feed, paper, size, and click OK to return to the Photoshop Print Preview.

1 - Click the Landscape orientation button
2 - Note how the preview changes and looks like a printed, unfolded card.
You can now click Print.
You may see this warning - if so, click Proceed.

Congratulations! You have set up and printed a Red River Paper greeting card.
Troubleshooting questions? Click here
Alternative Epson Driver Information
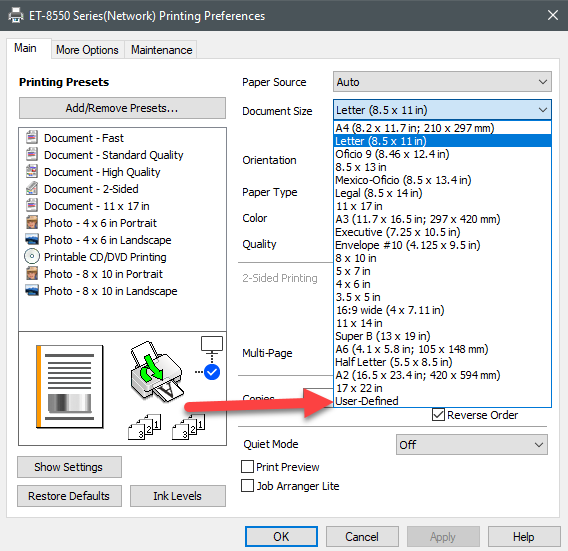
Epson drivers can look different, depending on your model. Below is one used primarily with XP WT and ET models.
Locate the Document Size dropdown menu and choose User-Defined.
The User-Defined Paper Size dialog appears.
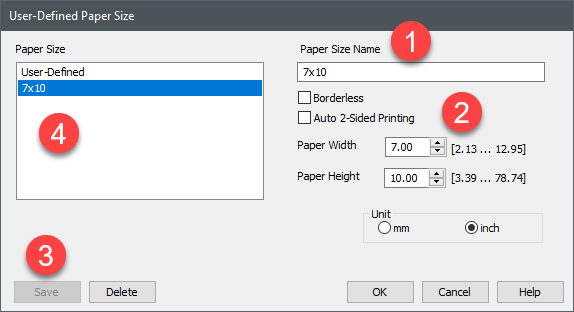
1 - Name the new size
2 - Set the paper width and height using the table below.
The width is always the smaller dimension of the paper.
The height is always the longer dimension of the paper.
Regardless of card orientation.
| Card Size | Width | Height |
|---|---|---|
| 7x10 | 7 | 10 |
| 6.25x9 | 6.25 | 9 |
| 5.5x8.5 | 5.5 | 8.5 |
| 8x9 Pano | 8.0 | 9.0 |
| 5.25x5.25 Square | 5.25 | 10.5 |
3. Click the Save button.
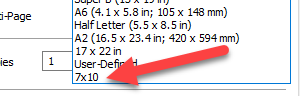
4. The newly defined size will appear. It will be available from now on in the Document Size dropdown menu, like this:
Upon returning to the Photoshop Print Settings...
1 - Click the Landscape orientation button
2 - Note how the preview changes and looks like a printed, unfolded card.
You can now click Print.
You may see this warning - if so, click Proceed.

Congratulations! You have set up and printed a Red River Paper greeting card.
Troubleshooting questions? Click here
Related Posts and Information
Last updated: June 04, 2024


