STEP 4 - CUSTOM PAPER SIZE
On the printer properties menu:
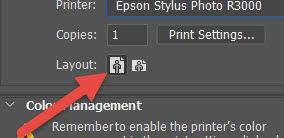
1. Click on the Features tab
2. Under Paper Size Opens choose Custom
1. Fill in the Paper Width and Paper Height. Use the table below as your guide.
Hint: The width is always the smaller dimension and the height is always the longer dimension of your paper, regardless of card orientation.
| Paper Size | Width | Height |
|---|---|---|
| 7x10 (A7) | 7 | 10 |
| 6.25 x 9 (A6) | 6.25 | 9 |
| 5.5 x 8.5 (A2) | 5.5 | 8.5 |
| 8 x 9 (Pano) | 8 | 9 |
| 5.25 x 5.25 (Square) | 5.25 | 10.5 |
2. Name - call the size something that is easily recognizable. Click the Save button if applicable.
3. Click OK
4. Make media and quality selections then click OK

STEP 5 - PRINTING
NOTE! Make sure orientation is set to PORTRAIT. If not, you will notice that the Print with Preview will look wrong.
Notice that the preview screen looks like the printed card should - the excessive white space is gone. The hash marks around the border represent your printer's margins.
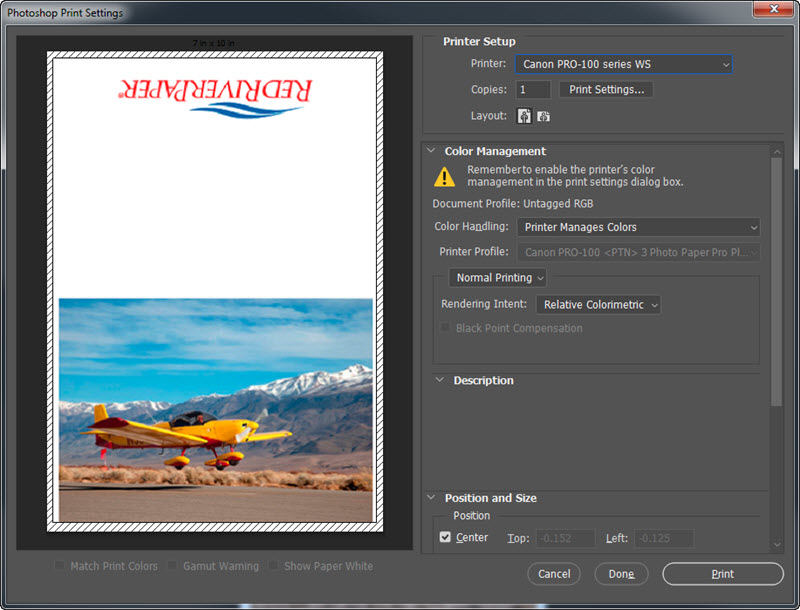
You can now click print.
You may see this warning - if so, click proceed.
Congratulations! You have set up and printed a Red River Paper greeting card.
Trouble shooting questions? Click here
Related Posts and Information
Last updated: August 19, 2020


