How to Fold Cardstock for Crack-Free Cards

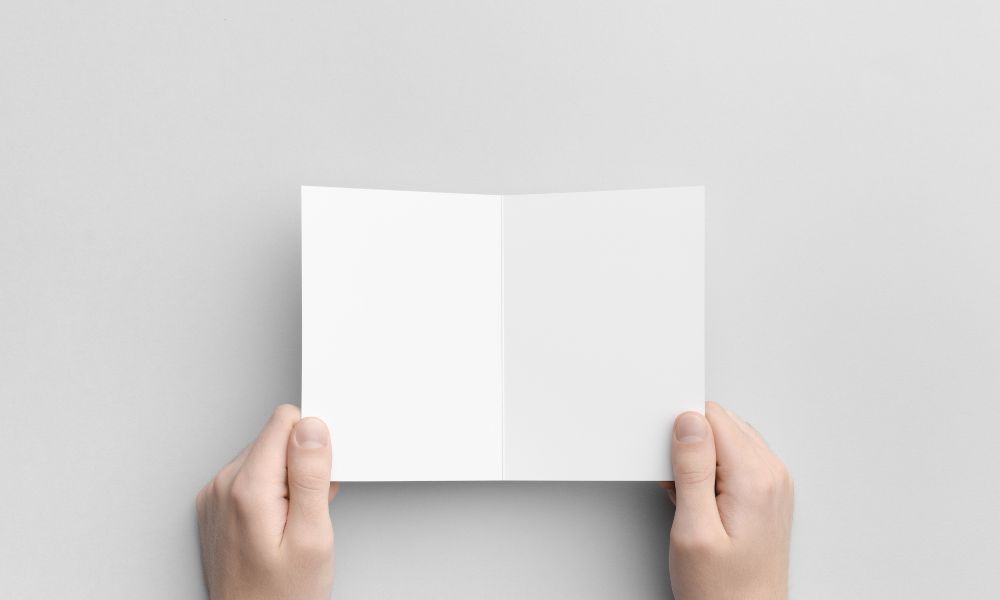
Creating professional-looking greeting cards and postcards requires attention to detail, especially when folding thicker materials like cardstock. With Red River Paper’s pre-scored note card stock, you get a high-quality foundation for any greeting or postcard project. Folding cardstock, however, can sometimes lead to cracking, uneven lines, or unsatisfactory results if done incorrectly. This guide will walk you through the process of folding cardstock for single and double-sided printing, with tips to help you achieve clean, precise folds every time.
Understanding the Structure of Our Pre-Scored Cardstock
When you open a package of Red River Paper’s pre-scored note card stock, you’ll find it packed print-side up, ready for use. Each card has a score line, an intentional crease that makes folding easier without damaging the paper. This score line has two unique sides:
- The Indented Side: This is the side with a slight inward crease.
- The Raised Side: This side has a raised, outward bump opposite the indented side.
For the best results when folding, it’s essential to understand the purpose of each side.

The "Indented Side" - Printable side of a single sided card

The "Raised Side" - the plain back of a single sided card
Folding Cardstock the Right Way
Step 1: Identify the Indented and Raised Sides
Before printing or folding, locate the score line on each card. Notice that one side has a subtle indentation, while the other side has a raised line. The indented side is designed to be the fold line, as it’s been pressed to weaken the fibers slightly, making it more flexible without cracking. The raised side will be on the back of your printed card, forming the outside of your fold.
Step 2: Print and Fold Away from the Indented Side
The indented side is your printable side on single-sided cards. Print your design on this side, whether it's a greeting card message, artwork, or photo. Once your design is in place and dried, fold away from the indented side. This direction aligns with the grain of the weakened fibers, minimizing the risk of cracking or tearing along the fold line.
Why Folding Away from the Indented Side Matters
Folding toward the indented side can weaken the integrity of the cardstock and lead to unwanted cracks or breaks along the fold line. The direction of the fold is crucial, as the paper’s internal structure reacts differently based on which way you apply pressure. Folding away from the indented side provides a cleaner, more professional fold.
Tips for a Perfect Fold on Red River’s Pre-Scored Cardstock
Even with a score line, cardstock benefits from a few careful techniques to achieve the best results. Here are some tips to ensure your folds are as crisp and professional as possible:
- Use a Bone Folder: After you’ve gently started the fold along the score line, press down firmly with a bone folder. This tool helps reinforce the fold without adding extra pressure that could crack the paper.
- Apply Gentle Pressure First: Lightly press the fold with your hands, aligning both edges carefully before reinforcing the fold with the bone folder.
- Mind the Grain: Cardstock, like most paper, has a grain direction, which is the natural alignment of the fibers. Red River Paper's pre-scored cards are designed to fold with the grain, which is why folding away from the indented side is ideal.
Single-Sided vs. Double-Sided Cards
Red River Paper offers cardstock options for both single-sided and double-sided printing, each of which has slightly different guidelines.
Single-Sided Cards
For single-sided cards, you’ll print your design on the indented side, as it’s designated to be the "front" or face of your card. The raised side will remain blank or plain, typically the back of the card. The score line guides you to fold the printed side inward, hiding the raised side on the interior of the fold.
Double-Sided Cards
Double-sided cards are perfect for printing on both the front and back. You can place images, designs, or text on each side, maximizing space for creative expression. Follow the same folding method—away from the indented side—to maintain a neat, crack-free fold, even with double-sided designs.
Common Issues and How to Avoid Them
Even with pre-scored cardstock, common folding mistakes can affect the final look. Here’s how to troubleshoot some of the most common issues:
- Cracking Along the Fold Line: This usually happens if you fold towards the indented side or apply too much pressure. Always fold away from the indented side and use a bone folder for a gentle, firm finish.
- Misaligned Edges: Misalignment often occurs when the paper isn’t folded precisely along the score line. Start with a light hand press along the score before using the bone folder. This ensures both edges meet evenly.
- Ink Smudges or Scuffs: After printing, give the cardstock sufficient time to dry before folding. This reduces the risk of smudging, especially when working with thicker inks or vibrant colors.
Benefits of Using Our Cardstock
Red River Paper’s cardstock offers several advantages for greeting card and postcard projects:
- Professional Score Lines: The pre-scored line saves time and effort, giving you a clean fold every time without the need to score your own paper.
- Versatile Printing Options: Choose between single-sided and double-sided cards depending on your project needs, with both formats providing excellent print quality and durability.
- Ease of Use: With clear sides designated for printing and folding, Red River Paper’s cardstock ensures a straightforward, frustration-free experience.
Final Thoughts
Working with cardstock for greeting cards and postcard projects requires careful folding to achieve a professional look. With Red River Paper’s pre-scored note card stock, you’re equipped to create stunning cards with ease. Remember to identify the indented and raised sides, print on the correct side, and fold away from the indented side to keep your designs looking clean and polished. Whether you’re creating single-sided greetings or double-sided postcards, following these guidelines will elevate your cardstock projects to a professional level.
So, the next time you’re printing greeting cards or postcards, rely on Red River Paper to deliver a product that’s not only visually impressive but also easy to work with. Happy crafting!
Original Publication Date: October 01, 2024
Article Last updated: October 31, 2024
Related Posts and Information
Categories
About Photographers
Announcements
Back to Basics
Books and Videos
Cards and Calendars
Commentary
Contests
Displaying Images
Editing for Print
Events
Favorite Photo Locations
Featured Software
Free Stuff
Handy Hardware
How-To-Do-It
Imaging
Inks and Papers
Marketing Images
Monitors
Odds and Ends
Photo Gear and Services
Photo History
Photography
Printer Reviews
Printing
Printing Project Ideas
Red River Paper
Red River Paper Pro
RRP Products
Scanners and Scanning
Success on Paper
Techniques
Techniques
Tips and Tricks
Webinars
Words from the Web
Workshops and Exhibits
all
Archives
December, 2024
November, 2024
October, 2024
September, 2024
August, 2024
July, 2024
June, 2024
May, 2024
April, 2024
more archive dates
archive article list


