How to Print on Glossy Photo Paper

FIRST, LET’S REFLECT ON GLOSSY PHOTO PAPER
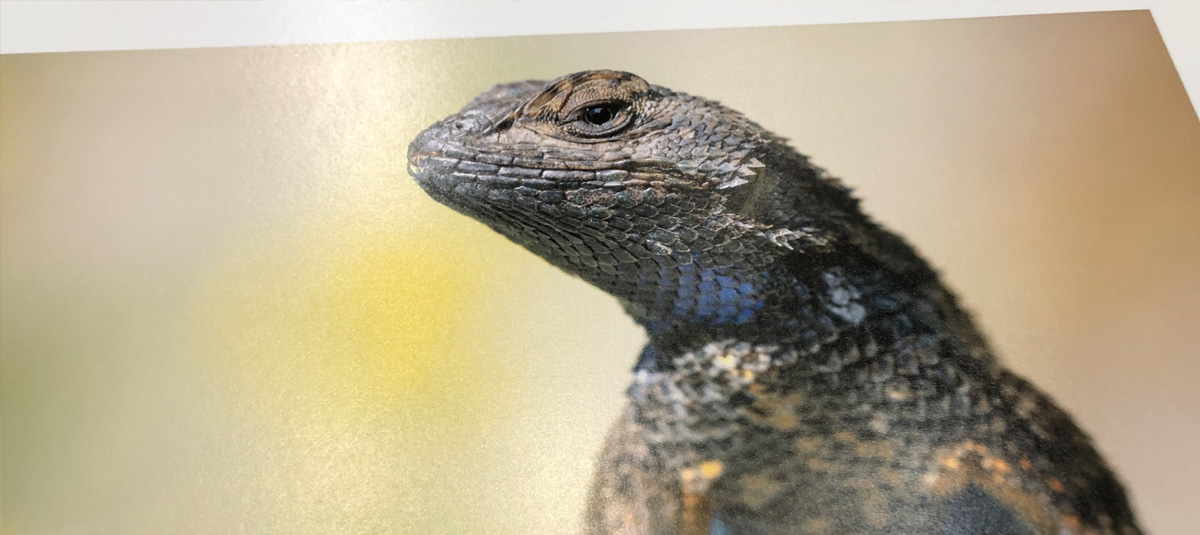
Bold. Bright. Sharp. If these are the qualities you’re looking for when displaying your work, glossy photo printing paper is calling your name. Smooth with a highly reflective surface, glossy paper reflects the most amount of light, so your eyes will see the most color saturation, density, and brightness. Its glossy coating traps inkjet inks to ensure sharp detail and vibrant colors.
Another benefit of glossy paper is that it can withstand handling quite well. Together, these qualities make glossy paper a fitting choice for photo books, portfolios, greeting cards, and high-quality prints worth framing.
LET RED RIVER PAPER JAZZ UP YOUR OPTIONS
We’re proud to offer six different glossy photo inkjet papers — some of the best on the market, at prices well below retail brands.
BEST SELLER: 68LB. ULTRAPRO GLOSS 2.0
Enjoy vivid colors and deep blacks with any inkjet printer. The 10.4 mil. thickness feels like photo lab quality. Dries instantly for resistance to smears.
BEST SELLER: POLAR GLOSS METALLIC 255
A unique inkjet paper, the shimmery surface closely matches the look of photo lab metallic prints.
BEST SELLER: 60LB. PECOS RIVER GLOSS
Ideal glossy for greeting cards, note cards, and design presentations.
Also check out our 96LB. PECOS GLOSS PHOTO PAPER (the heaviest and thickest photo glossy stock on the market today), 86LB. PECOS RIVER GLOSS DUO (exclusive to Red River Paper, this is the heaviest, thickest double-sided glossy on the market), and 42LB. PECOS RIVER GLOSS (a budget-friendly premium glossy paper).
The best way to familiarize yourself with various glossy papers is to purchase a small quantity or order a sample kit if available. Then, print something from each genre of your photo library to see how the paper represents your work.
HOW TO PRINT ON GLOSSY PAPER
- Choose the Right Paper
We stand behind all Red River Paper options discussed above! - Be Design Ready
Make sure your design is formatted correctly, paying special attention to the dimensions and resolution. A resolution of 300 PPI is suggested for photographs. - Adjust Printer Settings
Before you hit “Print,” set up your printer for glossy paper. Here are some general guidelines for both inkjet and laser printers.
Paper Type: In printer settings, look for options like “Glossy Photo Paper.”
Quality: For Canon printers, choose “High.” For Epson printers, choose Photo or 1440dpi. For HP and other printers, choose “High” or “Best.”
Color Mode: Set to “RGB” for color printing or “Grayscale” for black and white. - Load Paper
To avoid jams and misfeeds, check your manual for paper-loading instructions. You may be able to load your glossy paper into the paper tray, or you may need to manually feed it through a designated slot. - Do a Test Run
To prevent wasting your glossy paper, print a test on regular copy paper so you can adjust alignment and other issues. - Print Away!
When you’re happy with the test print, it’s time for the real deal. - Let Prints Dry
Allow prints to sit for a few minutes before handling or storage. This allows the ink to fully dry (also called outgassing). Avoid touching the print side of your paper with your fingers. If you are going to handle prints on a regular basis, cotton gloves are recommended. - Protect Your Prints
Framing your glossy prints is a great way to preserve them. We recommend using anti-glare glass to tone down the reflection of the paper.
SUMMING IT UP
When you need your photo prints to be as bold and bright as possible, glossy paper shines — and reflects well on you! For further exploration, see our resources titled Glossy Photo Paper and Glossy vs. Matte Photo Paper for Printing.
Original Publication Date: March 18, 2024
Article Last updated: March 18, 2024
Related Posts and Information
Categories
About Photographers
Announcements
Back to Basics
Books and Videos
Cards and Calendars
Commentary
Contests
Displaying Images
Editing for Print
Events
Favorite Photo Locations
Featured Software
Free Stuff
Handy Hardware
How-To-Do-It
Imaging
Inks and Papers
Marketing Images
Monitors
Odds and Ends
Photo Gear and Services
Photo History
Photography
Printer Reviews
Printing
Printing Project Ideas
Red River Paper
Red River Paper Pro
RRP Products
Scanners and Scanning
Success on Paper
Techniques
Techniques
Tips and Tricks
Webinars
Words from the Web
Workshops and Exhibits
all
Archives
January, 2025
December, 2024
November, 2024
October, 2024
September, 2024
August, 2024
July, 2024
June, 2024
May, 2024
more archive dates
archive article list


