Create Other -World Little Planet Images

By ALBERT CHI
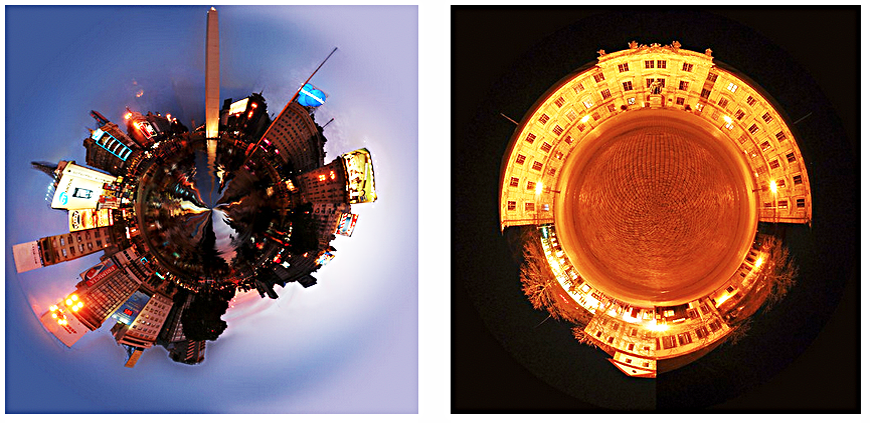
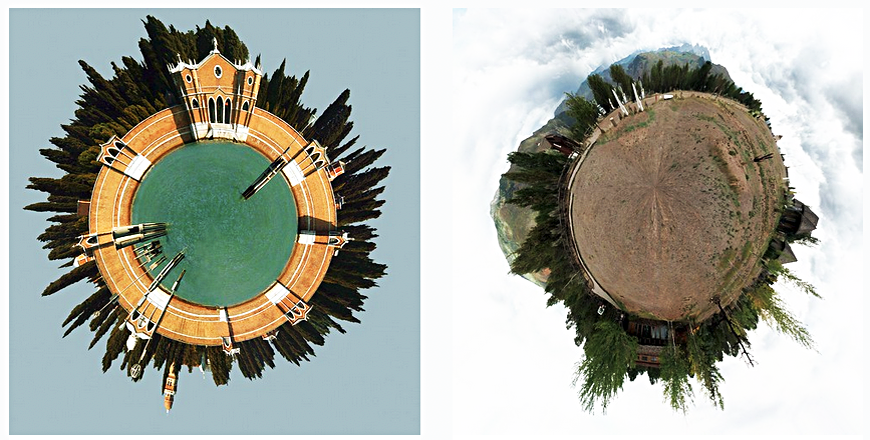
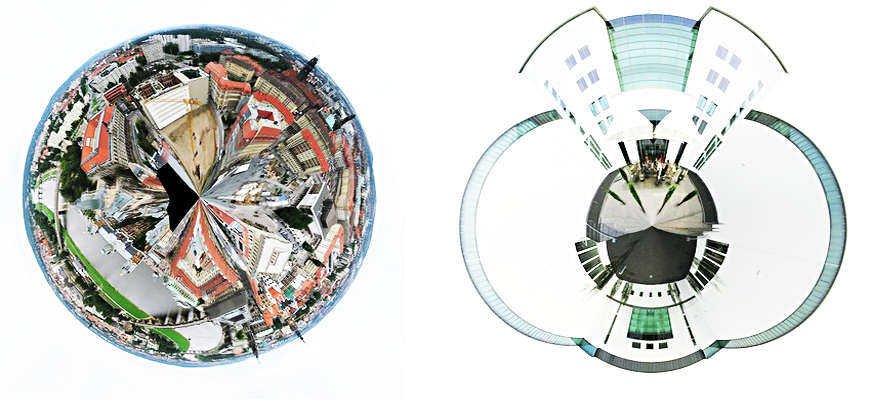
All Little Planet Photos Below © Dirk Paessler
I’ve shot outdoor pictures in cold climates for a good part of my life, so when a recent blizzard roared in, I wasn’t eager to go outside to shoot scenes I’d captured many times before. Instead, I wanted a photo project that I could enjoy while relaxing with my laptop in front of the fire.
Surfing the web, I cam across some fascinating images I had seen some years ago but which, at that time, required expensive hardware, buggy software and a lot of time to get good results.
If you were serious about shooting panoramas, you had to have hardware that allowed your camera lens to swivel on its nodal point and shoot a series of precisely leveled images to come up with a decent pano. These devices are still available but are quite pricey. Furthermore, to stitch all your images together you needed dedicated panorama software that was sometimes complex and required lots of computer speed which wasn't available then. Suffice to say ,the stitching process was extremely slow.
Now, however, advances in pano software and computer speed will allow you ro quickly stitch together a series of pictures even if taken with a handheld camera, including the one you have in your smartphone. All you have to do is overlap the images when you shoot and follow a few simple rules, pop them into Photoshop, PS Elements or Lightroom) and then tell the app to giddy-up and stitch ‘em. And If you don’t have (or don’t want to use ) Adobe, there are quite a few standalone stitching programs available today, some of which offer free trials so you can try before you buy. (see Resources below).
Regardless of which app you choose to stitch your images, once done, you’ll then be ready to create amazing out-of-this-world whimsical, little planets that will amaze and delight those who view them as prints or on greeting cards.
Now here’s a thought. You don’t even have to shoot your own panorama if you want to practice creating these galactic worlds prior to shooting your own. There are hundreds of free panorama images on the web that you can download and practice with so that when you finally shoot your own, you’ll already be proficient at creating your floating islands in the sky.
But now, it's important to review how to create the basic panorama from which you will create your own little planet images. Assuming that most of you will use one of Adobe's big three, hare are some tips they recommend for best results with their Photomerge Panorama feature that will do the heavy lifting of stitching your images together.
Overlap images sufficiently. Images should overlap approximately 15% to 40%. If the overlap is less, Photomerge Panorama may not be able to automatically assemble the panorama. If images overlap by 50% or more, it can be difficult to work with them, and blending may not be as effective.
Use a consistent focal length. Avoid using the zoom feature of your camera while taking your pictures. All images should be taken at the same focal length.
Keep the camera level Although Photomerge Panorama can process slight rotations between pictures, a tilt of more than a few degrees can result in errors when automatically assembling the panorama. Using a tripod with a rotating head helps maintain camera alignment and viewpoint. EDITORS NOTE: Learn how to get great results when hand-holding cameras and smartphone cameras. (See Resources below).
Tip: When photographing a panoramic scene from a high place, the natural inclination is to keep the horizon level in the viewfinder. However, this actually produces a noticeable rotation between images. Try using a tripod to keep the camera level when taking photographs in this situation.
Stay in the same position. Try not to change your location as you take a series of photographs, so that the pictures are from the same viewpoint. Try using a tripod to keep the camera in the same place.
Avoid using distortion lenses. Lenses, such as fish-eye lenses, that noticeably distort the image can interfere with Photomerge Panorama.
Maintain the same exposure. Avoid using the flash in some pictures and not in others. The advanced blending feature in Photomerge Panorama helps smooth out different exposures, but extreme differences make alignment difficult.
Use uniform exposure. Some digital cameras change exposure settings automatically as you take pictures, so you may need to check your camera settings to be sure that all the images have the same exposure.
Hold the camera in its vertical orientation. To avoid panoramas that are overly long and narrow, shoot your series of images with the camera positioned to take pictures in in portrait mode.
Once you’ve shot the images that will make up your panorama and stitched them together in Photoshop or Photoshop Elements. (See Resources, below), you’ll be ready to create your own little planet.
One of the best tutorials I’ve come across is called Little Planet Photos: 5 Simple Steps To Making Panorama Worlds. (See Resources below.) It is simple and easy-to-follow with screenshots to guide you all the way.
Then Just use the panorama image you’ve shot (or one you’ve downloaded free) and in less than 10 minutes you’ll have created your first little planet, ready to launch into orbit on Red River Paper. Little planet images are extremely graphic and when printed large and hung on a wall they always elicit comments; viewers are enchanted by their uniqueness. You will be, too!
RESOURCES:
Little Planet Gallery. More little planets by Dirk Paessler ↓
https://www.flickr.com/photos/dirkpaessler/albums/72157600227855546/
Free Panoramic Images ↓
https://pixabay.com/images/search/panoramic/
Little Planet Tutorial. The tutorial takes you step-by-step with clear explanations and screenshots. NOTE: There may be an ad called “View Template (PDF)” which has nothing to do with the tutorial. Do not click on it. ↓
Shooting Stitched Panoramas Handheld Without a tripod ↓
https://havecamerawilltravel.com/panoramas-handheld/
Using Photoshop to stitch panoramas ↓
https://helpx.adobe.com/photoshop/using/create-panoramic-images-photomerge.html
Standalone Panorama Stitching software ↓
NOTE: Scroll up after arriving at the site.
Original Publication Date: January 23, 2025
Article Last updated: January 25, 2025
Related Posts and Information
Categories
About Photographers
Announcements
Back to Basics
Books and Videos
Cards and Calendars
Commentary
Contests
Displaying Images
Editing for Print
Events
Favorite Photo Locations
Featured Software
Free Stuff
Handy Hardware
How-To-Do-It
Imaging
Inks and Papers
Marketing Images
Monitors
Odds and Ends
Photo Gear and Services
Photo History
Photography
Printer Reviews
Printing
Printing Project Ideas
Red River Paper
Red River Paper Pro
RRP Products
Scanners and Scanning
Success on Paper
Techniques
Techniques
Tips and Tricks
Webinars
Words from the Web
Workshops and Exhibits
all
Archives
January, 2025
December, 2024
November, 2024
October, 2024
September, 2024
August, 2024
July, 2024
June, 2024
May, 2024
more archive dates
archive article list


Red River Paper Inc. All contents © 1997 - 2025. 8330 Directors Row. Dallas Texas, 75247. Prices, specifications, and images are subject to change without notice. Not responsible for typographical or illustrative errors. Website Terms & Conditions | Acceptable Use
Site Development & Maintenance: Phosphor Media, LLC